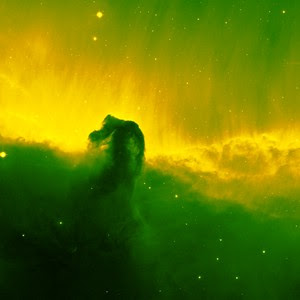
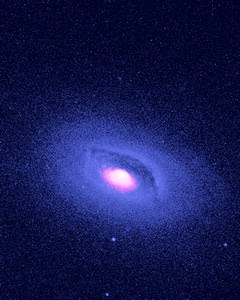
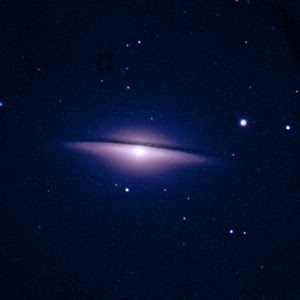
Penknife Press attended this event on Sunday, June 13th, at the Ballroom of the Art Institute of Chicago. The images were stunning! But, as the name of the event implies, there was more to the images than mere beauty. Today's telescopes allow us to depict various ranges of the light spectrum in different colors thereby rendering visible the invisible. So the pictures allow scientists to delve even deeper into the unknown.
http://cosmo.uchicago.edu/beyondbeauty/
and
http://cosmo.uchicago.edu/beyondbeauty/event_info.html
Thursday, July 8, 2010
Monday, May 17, 2010
How to Make Art from FITS-Formatted Astronomy Images

Photographs taken by telescopes throughout the world are stored in the Flexible Image Transport System (FITS) format. This paper concerns itself with the steps to be taken to convert these images into art.
First, however, a caveat. Although the FITS format stores a wealth of scientific information about the images, the pictures we will be creating are not for scientific use. This endeavor is strictly about esthetics. No attempt will be made to confine color usage to the filters used while photographing the heavens. Here, artistic license rules!
The first step is to get the M33 Tutorial: Making Color Images by Travis A. Rector from http://uranus.uaa.alaska.edu/rbseu/projects/imagemaking/Image%20Tutorial.pdf. This tutorial teaches you everything you need to know to get started making color images.
At the end of the tutorial, you’ll have an image with three layers, each with two adjustment layers. The layer created with the image taken with the B filter will be blue; the layer created with the V filter will be green; and the layer created with the image taken with the Hα filter will be red.
This is the point at which we flash our artistic license like a cop flashes a badge. Change the B image to a shade of blue that you like. Do the same with the Hα image. Change it to a shade of red that you like, or change it to orange or purple or whatever. Now change the V image to yellow or whatever.
Finally, using the exact same steps that you used to create the Levels and Hue/Saturation adjustment layers for each of the original layers, create a Brightness/Contrast adjustment layer for each color. Choose Layer/New Adjustment Layer/Brightness/Contrast. A ‘New Layer’ dialog box will appear. Click ‘OK’ and a new window will appear with two sliders, brightness and contrast. Move the sliders until the picture looks the way you want. Do that with each of the colors. Using the Hue/Saturation and the Brightness/Contrast adjustment layers on each of the original layers, you can make any given galaxy or star cluster look any way you want. The possibilities are endless, because now you’re an artist.


Subscribe to:
Posts (Atom)

